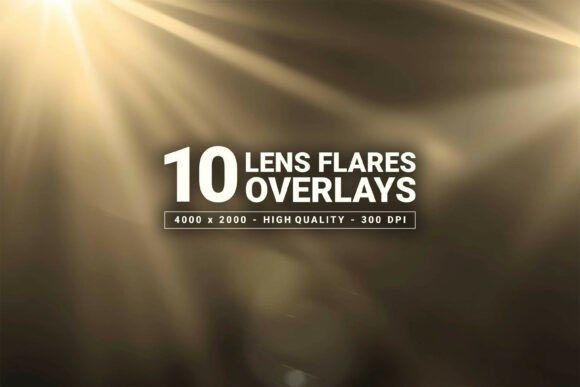
Transform Your Visuals with Cinematic Lens Flare Overlays
There is a specific moment in visual storytelling that separates a flat image from something that feels alive. It usually involves light—not just the illumination of a subject, but the way light interacts with the lens itself. That specific, cinematic quality of light rays bursting through a frame or a subtle golden haze settling over a scene is often the "secret sauce" in high-end commercial work. If you have ever struggled to capture that atmosphere in-camera, or if you want to inject a professional, dynamic energy into your digital assets, the 10 Lens Flares Overlays collection is a toolkit you need to understand.
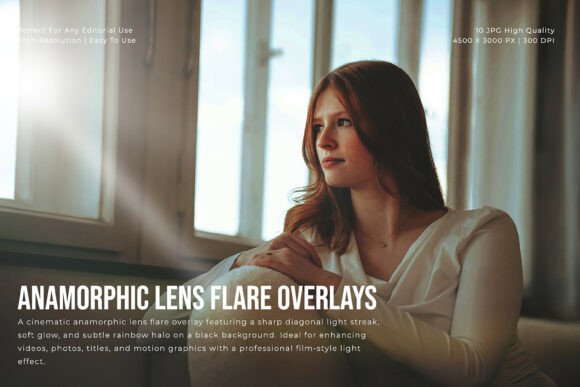
This is not just a random assortment of bright spots. It is a premium collection of realistic lens flare overlays designed to add cinematic light effects and professional highlights to your visuals. Whether you are a photographer, a motion designer, or a small business owner trying to elevate your branding, these overlays offer a practical solution for adding depth and emotion to your work.
The Anatomy of a Perfect Flare: Style and Visual Characteristics
When we talk about "lens flares" in a design context, we aren't just talking about hexagons and streaks. The visual personality of the 10 Lens Flares Overlays lies in their subtlety and realism. These assets feature soft golden light rays and natural glow, avoiding the artificial, computer-generated look that can make a design feel cheap. The style relies on smooth diffusion and high dynamic range (HDR) lighting.
What does that mean for your project? It means the light feels organic. The collection includes subtle gradients that blend seamlessly into your existing footage or photography. Because they are crafted with high-resolution detail (4000 x 2000 px at 300 DPI), they hold up beautifully in print and on high-definition screens. The "personality" of these overlays is warm and inviting, mimicking the look of anamorphic lenses or natural sunlight hitting a sensor. They provide a sense of movement and energy without overwhelming the subject matter.
Practical Applications: Where These Overlays Shine
The versatility of the 10 Lens Flares Overlays makes them an essential part of a designer's toolkit. They are not limited to one specific niche; rather, they serve as a bridge between a raw asset and a polished final product.
For photographers, these overlays are invaluable for wedding photography, portrait sessions, or landscape shots where the weather didn't cooperate. If you have a backlit portrait that feels a little too dark or lacks that "magazine cover" pop, layering one of these PNGs over the light source can instantly add warmth and dimension.
In the realm of branding and marketing, the application is just as powerful. Entrepreneurs and small business owners often struggle with creating assets that look "expensive" without a massive budget. By applying a subtle flare to a product shot or a hero image on a website, you immediately elevate the perceived value. It adds a layer of polish to social media graphics, making a standard Instagram post feel more like a cinematic advertisement.
Video editors and motion graphic designers will find these particularly useful for transitions or establishing shots. A flare can mask a cut between two scenes or emphasize a title card in an intro sequence. For album covers or film posters, the overlays add the necessary drama to capture attention in a crowded visual landscape.
Enhancing Visual Hierarchy and Audience Engagement
Design is ultimately about guiding the viewer's eye. This is where the concept of visual hierarchy comes into play, and light is one of the most effective tools to control it. When you use the 10 Lens Flares Overlays, you aren't just adding decoration; you are manipulating focus.
A well-placed flare draws the viewer’s attention to a specific area of the frame. If you are designing a poster or a website banner, you can use the light source to highlight a headline or a call-to-action button. The human eye is naturally drawn to the brightest part of an image, and these overlays leverage that psychology to increase engagement.
Furthermore, light influences mood, which in turn affects brand perception. A brand that uses warm, golden light feels different than one using cold, blue tones. The 10 Lens Flares Overlays lean into that warm, approachable aesthetic. They help create a consistent visual language across different platforms, ensuring that your Instagram feed, your website headers, and your print flyers all share the same professional DNA. This consistency builds recognition and trust with your audience.
Technical Integration and Workflow
One of the biggest hurdles with design assets is compatibility. You don't want to buy a tool that requires a complex conversion process. The 10 Lens Flares Overlays are delivered in PNG and JPG formats, ensuring they work natively with almost any software.
Whether you are working in Adobe Photoshop, Affinity Photo, Procreate, or even mobile editing apps, the integration is straightforward. The collection includes files with dark backgrounds and transparent-ready options, making the blending process intuitive.
The key to using these overlays effectively lies in your blending modes. While you can simply place them on top of an image, the real magic happens when you experiment with modes like Screen, Soft Light, or Overlay. "Screen" mode is generally best for removing the dark background and leaving only the light, while "Soft Light" can integrate the color and texture of the flare into the shadows of your image for a more cohesive look.
Choosing the Right Asset for Your Project
When evaluating design assets, it is easy to get distracted by quantity over quality. However, with the 10 Lens Flares Overlays, the value lies in the curation. You have ten distinct variations of high-quality lens flare effects. This allows you to test different looks without sifting through hundreds of mediocre files.
When choosing which overlay to use, consider the composition of your base image. Look for the implied light source. Even if there isn't a visible sun or lamp in your photo, the overlay should be placed where light could logically come from—usually the upper corners or directly behind a subject. This logical placement is what separates a professional edit from an amateur one.
It is also worth considering the scale. Because these assets are high-resolution (300 DPI), you can scale them down for web use without losing quality, or use them at full size for large-format printing like trade show banners or magazine spreads. This scalability ensures that your investment in these design assets pays off across multiple mediums, from digital web design to physical packaging.
Ultimately, the goal of any creative tool is to solve a problem. If your problem is that your visuals lack energy, depth, or that "premium" feel, the 10 Lens Flares Overlays